How to Use Canva Software for Photo Editing Tools – Image Guide
Published: 24/Dec/2024
If you’re new to photo editing, Canva is a fantastic place to start. It’s simple, accessible, and packed with features that make photo editing easy, even for beginners. Whether you’re looking to design your photos, design graphics for social media, or create visuals for a project, Canva has everything you need. In this guide, we’ll walk you through how to use Canva software for photo editing, breaking it down step-by-step so you can start creating beautiful images today.
1. Getting Started with Canva
Before diving into photo editing, the first step is to get set up on Canva. Here’s how:

Create a Canva Account
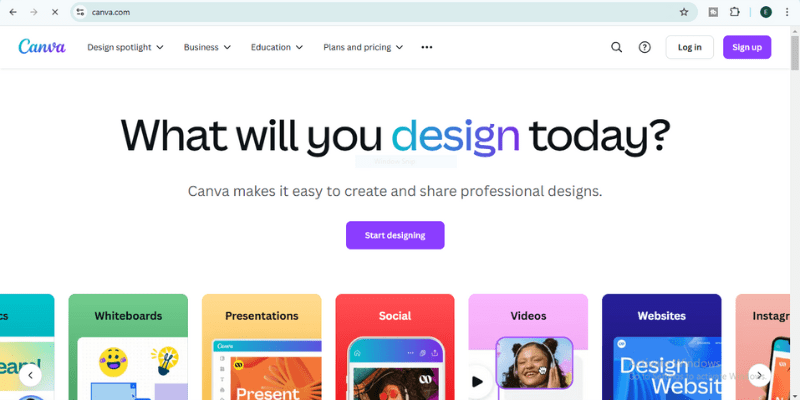
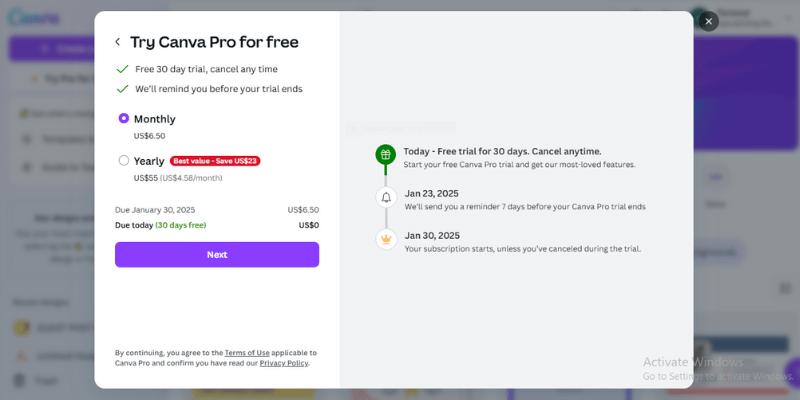
Head over to Canva’s website and sign up for an account. You can sign up using your email, Google account, or Facebook. Once you’re in, you’ll have access to the free version of Canvas, which is more than enough for basic photo editing needs.
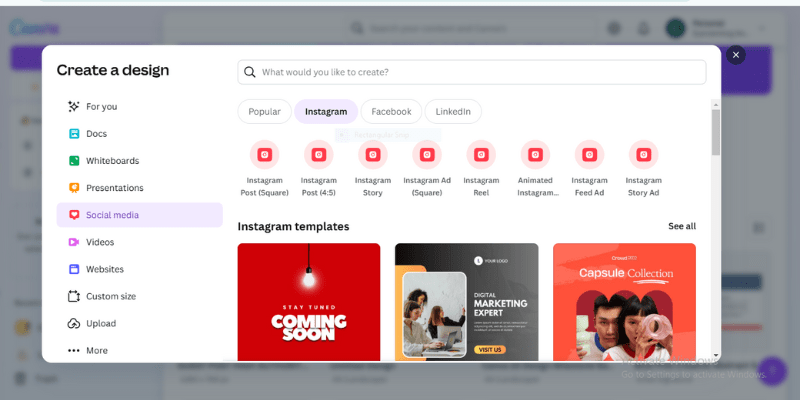
Explore the Dashboard
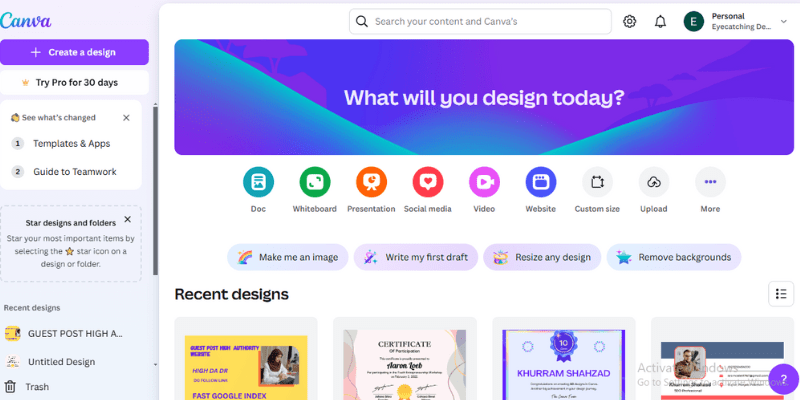
After logging in, you’ll be taken to the Canva dashboard. This is where all your designs are stored. On the left side, you’ll find a toolbar with options like “Create a design,” “Templates,” and “Uploads.” The “Create a design” button is your starting point for photo editing. Clicking it will allow you to choose your preferred design dimensions.
Canva also offers preset templates, which can be great for beginners who want to start with a design and customize it to their liking.
2. Basics of Photo Editing in Canva
Now, let’s dive into the actual photo editing process. Here are some simple steps to help you get started.
Upload Your Photo
First, you need to upload the photo you want to edit. On the left toolbar, you’ll see an option called “Uploads.” Click this button, and you can drag and drop your photo or browse your computer to select the file. Once uploaded, your photo will appear in the “Uploads” section. You can then click on the image to add it to your canvas.
Resize and Crop Your Image
Once your photo is on the canvas, you can resize it by clicking and dragging the corners of the image. If you need to crop your image, click on the photo, and a toolbar will appear at the top. Click on the “Crop” button, and you can adjust the photo to remove unwanted areas.
Adjust Photo Settings
One of the easiest ways to improve a photo is by adjusting its settings. Canva provides basic tools to help you enhance your photo. Click on the photo to select it, then click on the “Edit Image” button that appears in the top toolbar. Here, you can adjust settings like:
- Brightness: Increase or decrease the lightness of your photo.
- Contrast: Adjust the difference between dark and light areas.
- Saturation: Make the colors in your photo more vibrant or dull.
- Blur: Apply a blur effect to create a soft look.
Play around with these settings to enhance your photo until you’re happy with the result.
3. How to Use Frames in Canva
Frames are one of Canva’s most fun features for photo editing. They allow you to place your photo into different shapes, creating unique and creative effects. Here’s how to use frames in Canva:
Adding a Frame
To add a frame, go to the “Elements” section on the left toolbar. Scroll down to find the “Frames” category. Once there, you’ll see a variety of frame shapes like circles, hearts, Polaroid-style frames, and more. Click on the one you want, and it will appear on your canvas.
Placing Your Photo in the Frame
To use the frame, simply drag and drop your photo into it. The image will automatically fit within the boundaries of the frame. If you need to adjust how the photo fits inside the frame, double-click the image. This will allow you to move the image around inside the frame to get the perfect placement.
Customizing Frames
You can also customize the frames by changing their color or size. Select the frame, then click on the color box in the toolbar to change its color. You can resize the frame by clicking and dragging its corners, just like you would with an image.
Frames are great for social media posts, invitations, and even posters, giving your photos a unique and polished look.
4. Advanced Editing Tools for Beginners
Canva has several features that allow for more advanced editing while still being easy to use. Here are some tools you can experiment with:
Adding Text to Photos
One of the most common things you’ll want to do with your photo edits is to add text. Whether it’s a quote, caption, or title, Canva makes this easy. Here’s how:
- Click on the “Text” tab on the left toolbar.
- Choose from pre-designed text boxes or create your own by selecting “Add a heading” or “Add a subheading.”
- Once your text appears on the canvas, click on it to edit. You can change the font, size, color, and alignment. You can also add effects like shadow or spacing adjustments for a unique look.
Using Layers and Positioning Elements
Canva lets you layer different elements on top of your photo, such as text, shapes, and other images. To move something forward or backward, right-click on the element, then select “Bring forward” or “Send backward.” This is helpful when you want text to be on top of an image or when you want to create complex designs.
Using Canvas Background Remover (Pro Feature)
If you’re a Canva Pro user, you can take advantage of the background remover tool. This tool allows you to remove the background from your image in just one click. To use it, select your image, click on the “Edit Image” button, and then click “Background Remover.” Canva will automatically remove the background, making your image transparent.
If you’re using the free version, you can still manually erase parts of the background using the “Erase” tool, but the process is more hands-on.
Saving and Exporting Your Design
Once your photo editing is complete, it’s time to save your work. Click on the “Download” button in the top-right corner of the screen. You’ll be prompted to choose your file formats, such as PNG, JPG, or PDF. If you’re saving an image with a transparent background, choose PNG. For standard photo edits, JPG is a good option.
5. Tips and Tricks for Beginners
Here are some useful tips to help you make the most of Canva:
- Start with Templates: Canva has a wide range of templates that can help you get started quickly. These templates are fully customizable, allowing you to change the photos, text, and colors to suit your needs.
- Use Free Elements: Canva offers a mix of free and paid elements. Stick to the free ones if you’re just starting to avoid any surprise costs.
- Keep It Simple: As a beginner, it’s easy to get carried away with too many elements. Try to keep your designs simple, with one or two key focal points.
- Practice: The best way to get better at photo editing is by practicing. The more you experiment with Canvas features, the more confident you’ll become in your design skills.
6. Common Mistakes to Avoid
While Canva is easy to use, beginners often make a few common mistakes:
- Overcrowding Designs: Avoid adding too many elements. A clean, simple design is often more effective than one with too much going on.
- Inconsistent Fonts: Stick to a small selection of fonts and make sure they complement each other. Mixing too many fonts can make your design look unprofessional.
- Neglecting Image Quality: Ensure your photos are of high quality before uploading them. Low-resolution images can appear blurry or pixelated when edited.
FAQs
1. Is Canva free to use for photo editing?
Yes, Canva offers a free version with plenty of features for photo editing. However, some advanced tools, like the background remover, are available only in the Pro version.
2. Can I edit photos on Canva using my phone?
Absolutely! Canva has a mobile app for both iOS and Android, making it easy to edit photos on the go.
3. What are Canva frames, and how do I use them?
Frames in Canva are design elements that allow you to crop and shape your photos creatively. You can drag your image into a frame to create effects like circles, hearts, or other unique shapes.
4. Does Canva support high-quality photo exports?
Yes, Canva allows you to export your edited photos in high resolution. For your downloads, you can choose formats like PNG, JPG, or PDF.
5. Can I collaborate with others on Canva projects?
Yes, Canva makes collaboration easy. You can share your project link and invite others to edit or view your designs.
6. Are there tutorials within Canva to help beginners?
Canva has a built-in learning center with tutorials, tips, and templates designed specifically for beginners.
7. Can I undo mistakes while editing in Canva?
Of course! Canva has an undo button that allows you to revert any changes you make during editing.
Conclusion
Canva makes photo editing accessible to beginners, offering an easy-to-use interface and powerful tools that anyone can master. By following the steps in this guide, you’ll be well on your way to creating professional-looking photo edits in no time. With practice and exploration, you’ll unlock even more features and start creating beautiful designs. So, what are you waiting for? Start editing your photos in Canva today, and let your creativity shine!
You might love this post!
- Top 5 tools to enhance photo resolution without losing quality
- 7 Common Social Media Mistakes That Kill Your Reach